For example, consider the image below, notice how the Footer includes 4 important fields that the administrator wants to show all the time to the users regardless of the section the users are navigating within the Account form:

What would it look like if we move those fields into the unused space at the bottom of the left navigation pane? It would look just like this:

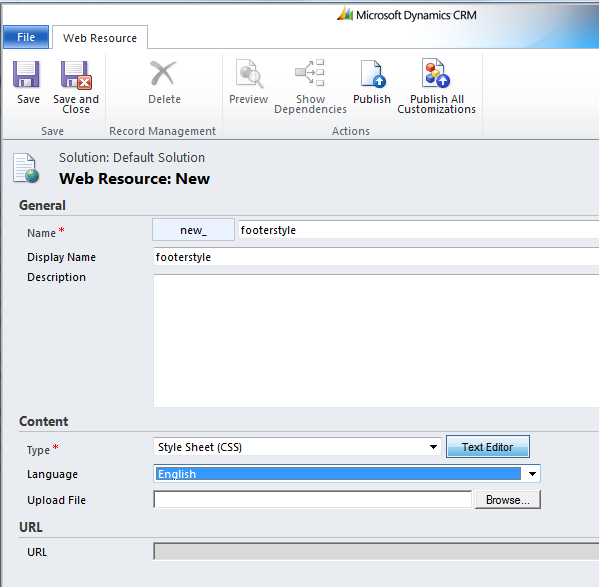
- Create a Web Resource named footerstyle with a Style Sheet (CSS) type:
.ms-crm-Form-Footer
{
display: none;
}
.ftLabel
{
color: #008;
font-style: italic;
padding-left: 4px;
}
.ftValue
{
padding: 2px 2px 8px 12px;
text-align: left;
}
.CustomFoot
{
padding: 2px
}
.leftFoot
{
margin-top: 10px;
margin-left: 2px;
border: solid 1px #008;
width: 99%;
}
Save and publish your changes then Navigate to the form editor of the entity you would like to affect. In this case we will use "Account".
Click on the "Form Properties" button and create a new library to add to the form

function fileload(cssname) {
var reference = document.createElement("link")
reference.setAttribute("rel", "stylesheet")
reference.setAttribute("type", "text/css")
reference.setAttribute("href", cssname)
document.getElementsByTagName("head")[0].appendChild(reference)
}
function SpaceSaver() {
var table = document.getElementById('crmNavBar');
var row = table.insertRow(table.rows.length);
var foot = row.insertCell(0);
var text = document.createTextNode('Test');
foot.appendChild(text);
foot.id = 'CustomFoot';
document.getElementById('CustomFoot').innerHTML = "<table class='leftFoot' cellspacing='0' cellPadding='0'>" +
"<tr><td class='ftLabel'>Customer Since:</td></tr>" +
"<tr><td class='ftValue'>" + document.getElementById('footer_new_customersince_d').childNodes[0].innerHTML + "</td></tr>" +
"<tr><td class='ftLabel'>Primary Contact Info:</td></tr>" +
"<tr><td class='ftValue'>" + document.getElementById('footer_primarycontactid_d').childNodes[0].innerHTML +
"<br />" + document.getElementById('footer_telephone1_d').childNodes[0].innerHTML + "</td></tr>" +
"<tr><td class='ftLabel'>NPS Status:</td></tr>" +
"<tr><td class='ftValue'>" + document.getElementById('footer_new_npsstatus_d').childNodes[0].innerHTML + "</td></tr>" +
"</table>";
}
function FormFooter() {
fileload('/WebResources/new_footerstyle');
SpaceSaver();
}
- On the code shown above, modify the red field names to reflect the fields present on your CRM Footer.
- Create a new Event Handler to call the "FormFooter" function that moves the data from the Footer to the Left Navigation Pane:

Save, Publish and enjoy the new available space!
No comments:
Post a Comment